The limbo store exists for all patient records with fictitious data, untrusted data, or insufficient identifying data to create an MPID when entered into the system. When the patient has sufficient identifying information to create an MPID, it is possible to move him or her from the limbo store.
 Click to zoom
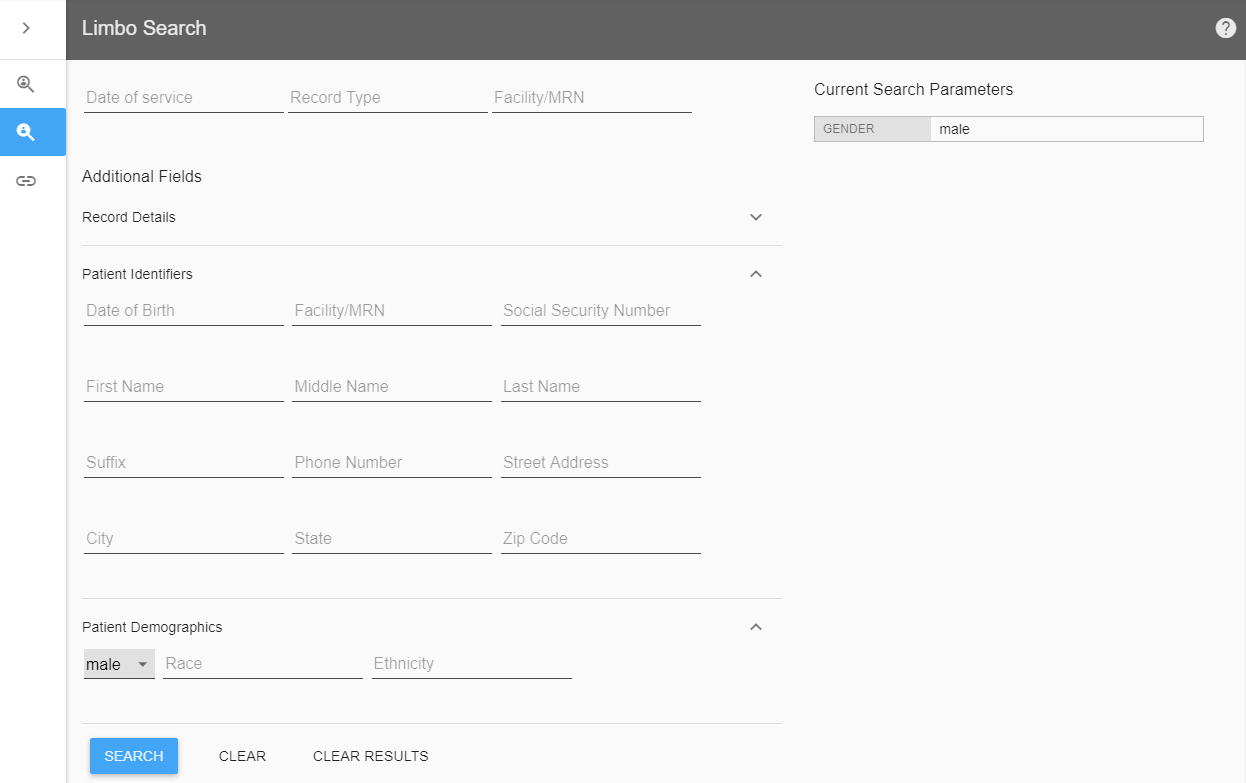
Limbo Search
Search for limbo records as you would for persona records found in the Persona Search. Below are the differences found between the two searches:
- Date of service
Enter the date of service in this format: yyyy-dd-mm. - Facility/MRN
Either the facility or the MRN can be entered here. In the persona search, the two fields are separated. The same searching rules apply when entering either the facility or the MRN. - Address fields
Use the same rules for spelling and punctuation, but the fields are separated.
 Click to zoom
All data in images is fabricated for example purposes only and does not reflect an actual person.
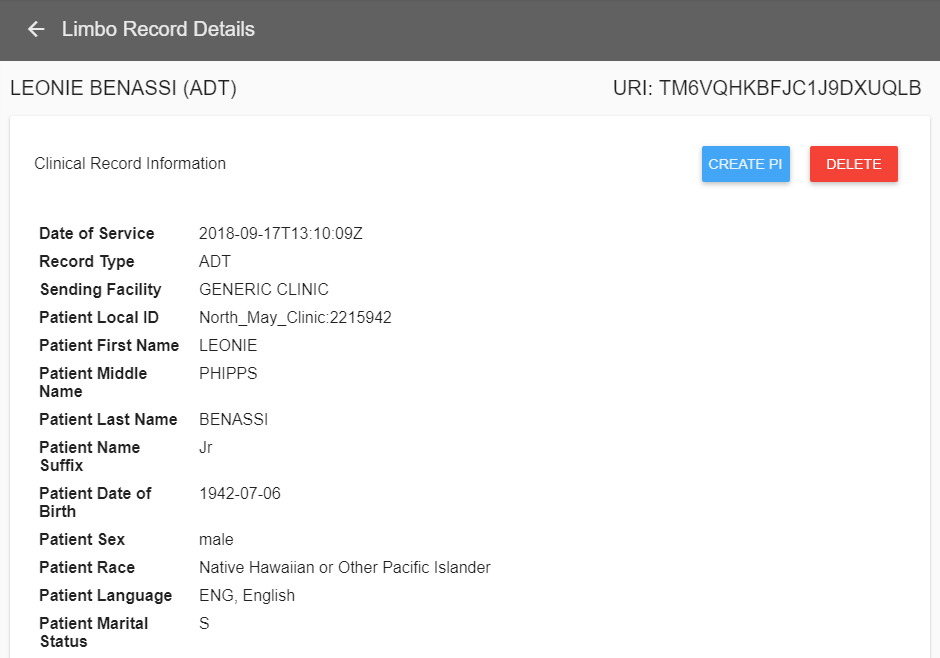
Access Create PI
Access Create PI by following the steps below:
- Go to the MPI limbo search.
- Locate and click on the correct record.
- Click on in the pane on the right.
- When the record details screen opens, click .
In all releases after 8.0, locate the URI in the top right corner or in the browser's address bar while viewing a record in the limbo store. Previous releases use SPI (Source Patient Information) record numbers.
 Click to zoom
All data in images is fabricated for example purposes only and does not reflect an actual person.
Create a New MPID
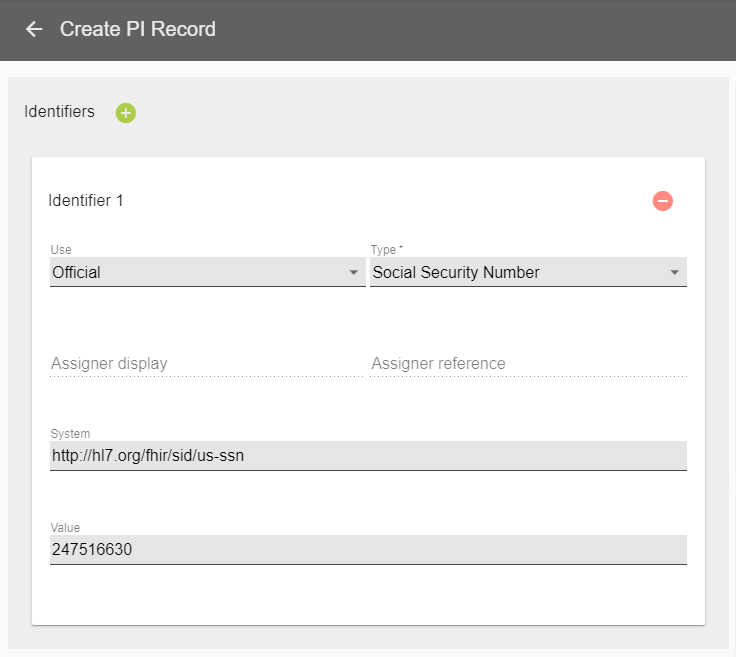
Once Create PI is opened, the information in the system is automatically populated into the correct fields. Know that any of this information can be corrected at this time if needed.
Identifiers
- Use
Choose one of the options that best describes the use case: usual, official, temporary, or secondary. - Type
Choose either Medical Record Number or Social Security Number. - Assigner display and Assigner reference
When using an MRN, enter the facility name and/or the facility reference number. These are disabled when using an SSN. - System
This is a unique identifier for the record. When you click on the field, it provides an example of how it should be entered. For example, the identifier for facilities is https://mpi.imat.io/facility/xxxxxxx with the unique value replacing the Xs. - Value
Enter the SSN or the MRN.
Add more identifiers by clicking . Delete any identifier by clicking .
 Click to zoom
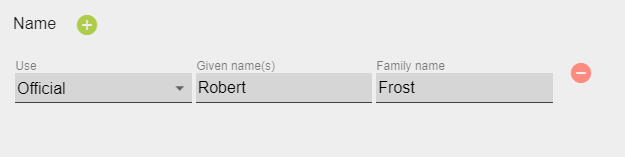
Name
- Use
Choose one of the options that best describes the use case: usual, official, temporary, nickname, anonymous, old, or name changed for marriage. - Given name(s)
Enter the given names in the fields. If John Jacob Jingleheimer is entered in this field, it is treated as the entire first name. However, if the name is separated with a comma, John, Jacob Jingleheimer, then John is treated as the first name while Jacob Jingleheimer is recorded as the middle name. - Family name
Enter the family name of the patient. It is acceptable to enter last names with spaces and hyphens: van Buren, Rimsky-Korsakov.
Add more names by clicking . Delete any name by clicking .
 Click to zoom
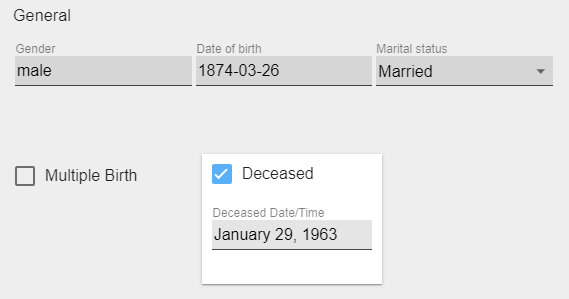
General
- Gender
Enter male or female. - Date of birth
Enter the date the patient was born. - Marital status
Choose the appropriate status from the drop-down list provided. - Multiple Birth
Enter the birth order number in the additional field provided when the box is checked. - Deceased
Enter the date and time of death in the additional field provided when the box is checked.
 Click to zoom
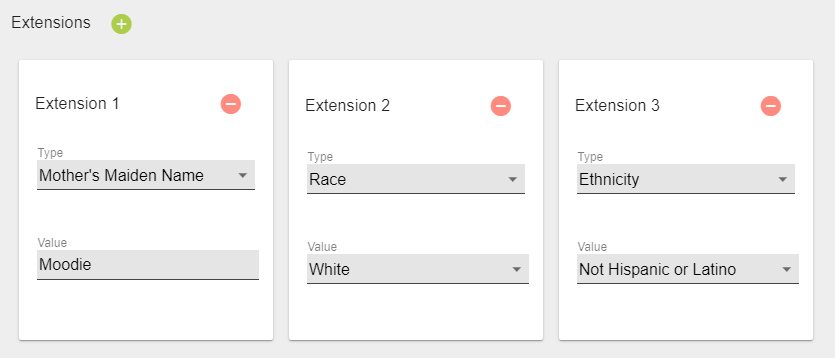
Extensions
- Type
Choose Ethnicity or Race from the drop-down, then select the correct information when the additional field appears.
Add more extensions by clicking . Delete any extension by clicking .
 Click to zoom
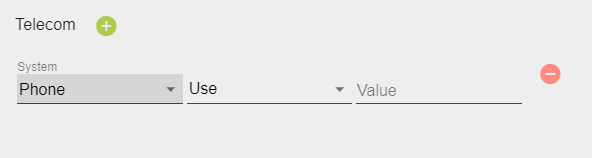
Telecom
- System
Select the appropriate communication type from the drop-down list. - Use
Choose the correct location to communicate: home, work, temporary, old, or mobile. - Value
Enter the number into the field. Use the example provided in the field as a guide for entering the number.
Add more numbers by clicking . Delete any number by clicking .
 Click to zoom
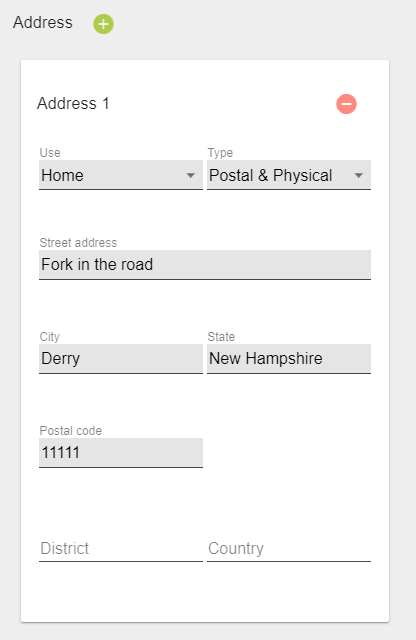
Address
Remember that address searches executed in MPI must match exactly as they are entered into the system. See Persona Search for more information.
- Use
Choose the correct use case from the drop-down list provided. - Type
Select the type of address: postal, physical, or physical and postal. - Street Address
- City
- State
- Postal Code
- District
- Country
Add more addresses by clicking . Delete any address by clicking .
 Click to zoom
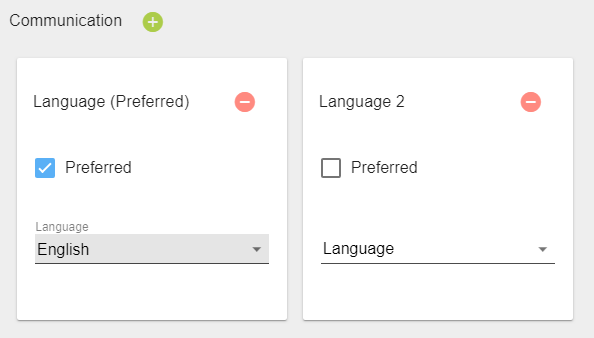
Communication
If the patient's native language is not English, check the box and select the preferred language from the drop-down list provided.
Add more languages by clicking . Delete any language by clicking .
 Click to zoom
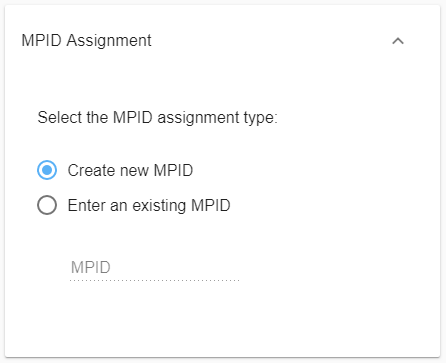
MPID Assignment
Either create a new MPID or assign it to an existing MPID. If you choose to link it to an MPID, enter the desired number into the field provided.
 Click to zoom
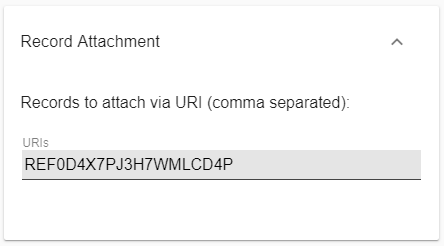
Record Attachment
If the record URI is known, and the patient has more than one record URI associated with him or her, create a comma-separated list in the field provided.
Release 8.0 and newer use the URI.
 Click to zoom
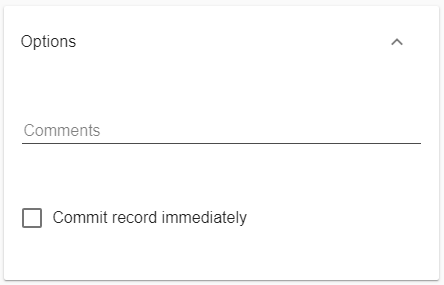
Options
This is the place to enter any applicable comments to identify the patient. Here you can also check the box to commit the record immediately.
 Click to zoom
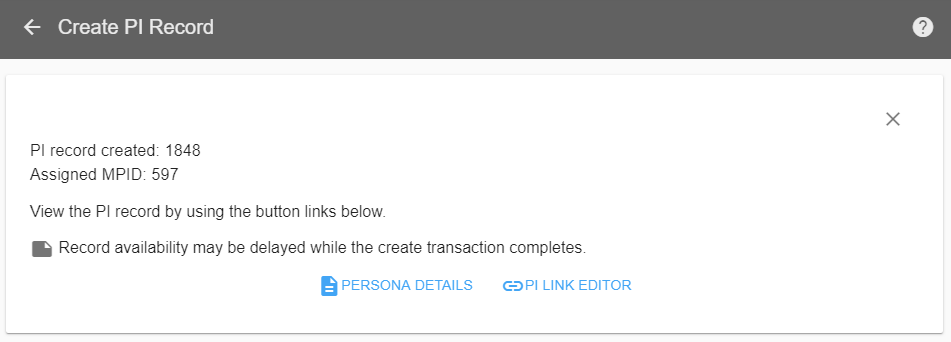
New MPID Submission
Create a new MPID by pressing the blue button found at the bottom of the form. After the record has been submitted, a confirmation appears with the new PI number, MPID number, and the links to view the record and to edit the PI record.
 Click to zoom
Delete Limbo Records
If you find that a limbo record is no longer needed, you can remove the record.
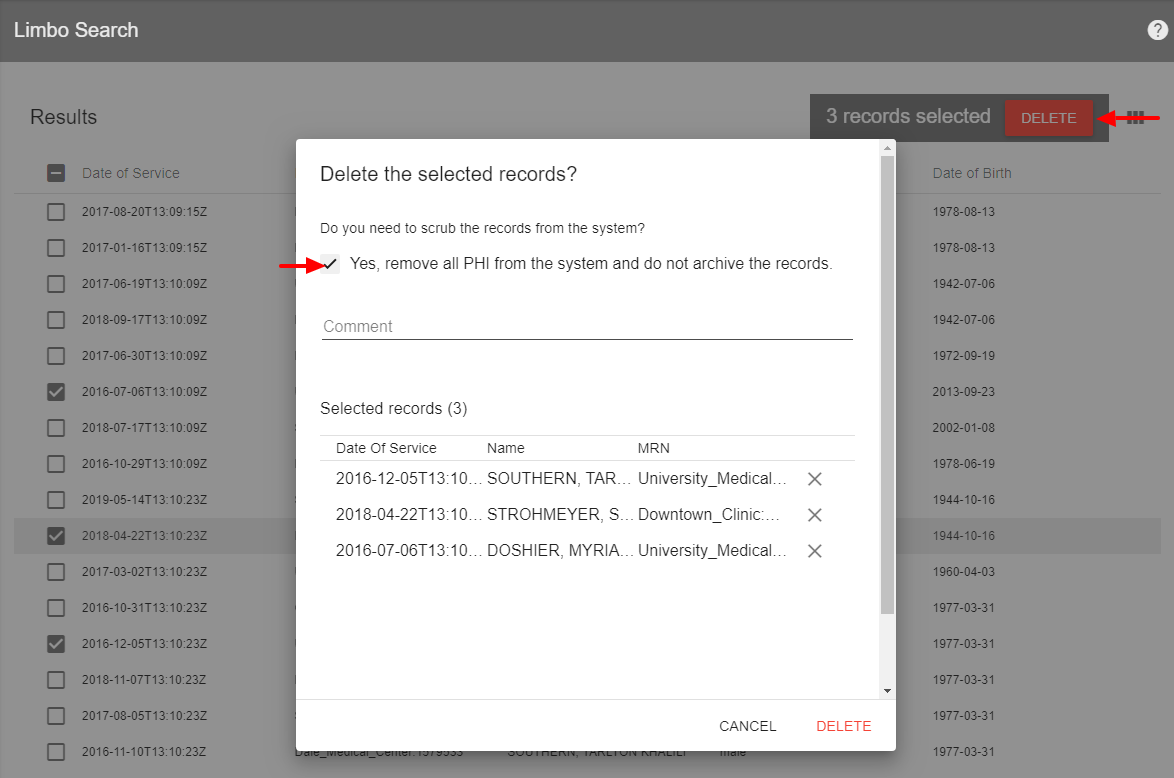
Delete Multiple Records
- Perform a limbo search.
- Click desired records or click the box in the heading to select all records in the results.
- Click . At this time, you can also elect to remove all PHI associated with the records from the system.
- Confirm you want to delete the records. At this time, you can add a comment if you desire.
.png) Click to zoom
Click to zoom
All data in images is fabricated for example purposes only and does not reflect an actual person.
Delete Individual Records
- Find the limbo record.
- Open the Persona Details screen.
- Click .
- Confirm you'd like to delete. At this time, you can also elect to remove all PHI that may be associated with this record from the system.
.png) Click to zoom
Click to zoom
All data in images is fabricated for example purposes only and does not reflect an actual person.
View Pending Deletion Records
Limbo records that are pending deletion appear in red. Once the records are permanently deleted, they are removed from the list.